A Night Out

Kyashi Hits The Road

The last couple of weeks have kept me busy chasing down free heads and bodies that have come available in SL during this period of global lockup. Collecting freebies was the easy part. Trying to decide on what skin to use on them was more difficult – especially since I now have more heads than I expect to need to illustrate my story.

So, when the weekend was nearly over, it was time to relax and it seemed that Kyashi had been locked up for a while – even her last trip out of the closet was a working one. The result was that she took off and had a great evening listening to music and dancing her feet off.

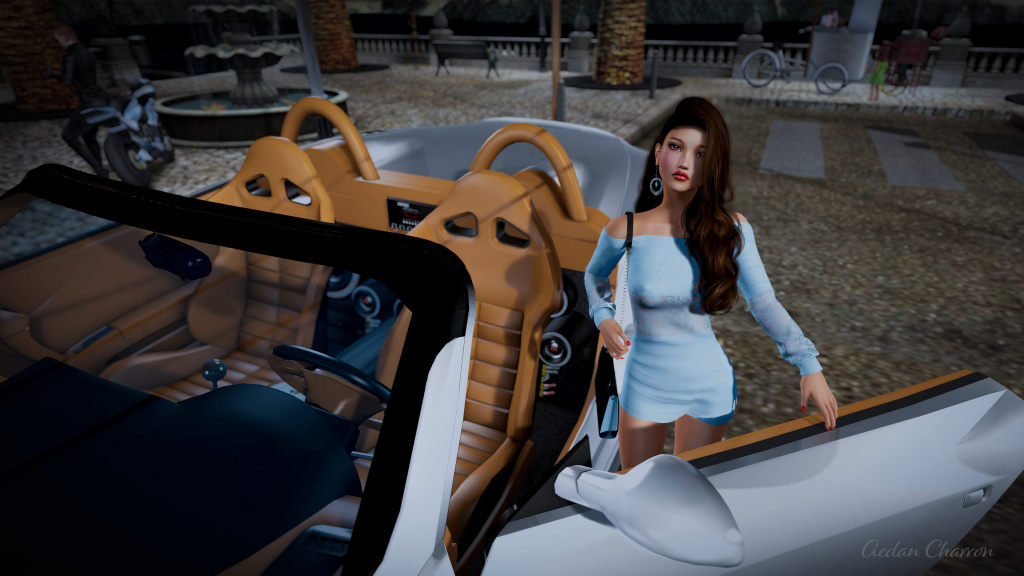
Not all was play, though – she did stop to allow me this one photograph as she was leaving Taox Tattoo…

This image was another exercise in Black Dragon. I think I’m slowly getting a handle on it which is somewhat ironic because this week I also decided to start uploading poses that I have created to my marketplace store. The problem being that Black Dragon eliminates the need to create poses in world and unfortunately, is not able to export the poses you create in browser.

Back to the image, though. There were two glaring issues I noticed while taking the photographs. The first was that while using depth of field to blur the background – the viewer did not initially blur what was behind the windshield. As I considered how I was going to address that, I found there was an option to leave alpha channels out of DOF consideration.  Great!  That eliminated that problem.

When I toggled that option, I noticed that something changed around Kyashi’s head. I toggled it a couple more times and saw that there was alpha in the edges of her hair and it was causing problems I hadn’t noticed. Unfortunately, no matte which way it was toggled, there was still a problem.  I opted to turn the alphas off and tend to the blurry hair in photoshop because it seemed that would be less noticeable and easier to fix.

I’m sure the second issue is also related to the alpha channel. Kyashi’s dress is full of alpha and it was playing havoc with the shadows being cast on it. The shadow was so dark that it was nearly black. Additionally, the shadow edges were sharp and jagged but that has always been an issue for me with Black Dragon.

I ended up using the stamp/clone tool in photoshop to soften the shadow edges and a curves/blend-if solution to reduce the super dark shadows on the dress to something more reasonable if not still a bit on the dark side.

In closing, I’ll praise Black Dragon for it’s poser. Actually setting poses without twisting something into a pretzel – especially fingers – is a challenge. The flexibility is just so awesome that I’m sure I will keep working at it long enough to get the knack of it.

Finally, I used this image in the following video – Are you coming back…


Facebook
Twitter
Tumblr
Email

One in a Billion

Kyashi gets caught up in the up flow of One in a Billion
Kyashi gets caught up in the up flow of One in a Billion, a display by Fiona Fei at Shi Mo Gallery.

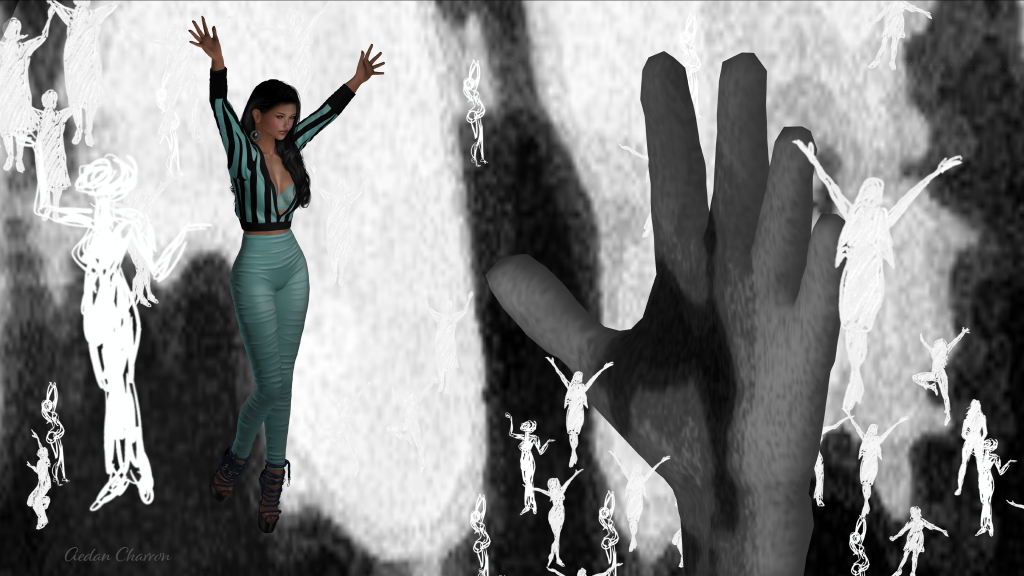
Being a fan of so many things Eastern for the last several years a post on the Secondlife Blog about a display taking Chinese Ink Drawings to the virtual world immediately caught my eye.  It seemed like a perfect place for Kyashi to visit so I sent her on her way with no time to change her clothes.

What she saw was truly beautiful and she brought back several images of which I’m certain  one or two will be used as a background in the future.  We tried to find a place to get a photo of her in the man room but the alpha transparencies of her hair made that difficult.  I wasn’t looking for a weekend project but something easy yet memorable.  When she stepped into the room housing the One in a Billion display and couldn’t resist flying with the those already there, I noticed that the transparency didn’t show up when she was against a white background.  We had a picture.

Probably the most difficult part of this image was finding a pleasing composition.  Everything was moving except the giant hand.  Putting that hand at the two third’s line in the image was easy.  Putting Kyashi at the 1/3 line was not.

The problem was that the hand is REALLY big. Looking at the white figure just below the thumb might give an idea of the size. Those ‘souls’ are very close to human (virtual human, that is) size. Getting Kyashi to be in the right place AND fill the frame was the challenge.  After some time, we finally found the sweet spot, way, way in front of the hand.

This was a straight shot.  No composites – only several layers to enhance the highlights and shadows using the technique I had only learned the day before from this video.

This project was quite simple but reinforced what I had learned here. I’ve since learned another way to do highlights and shadows by duplicating the image twice then setting one to multiply to burn, using a layer mask and one to screen to lighten similarly.  There are benefits and drawbacks from each method though I feel this one gives more control if you’re careful to not over do it.

I used this method to add highlights and shadow to her face and clothes in addition to bringing out some detail (highlights) in her hair.

Facebook
Twitter
Tumblr
Email

Kyashi

Kyashi faces a dragon
Don't back down.

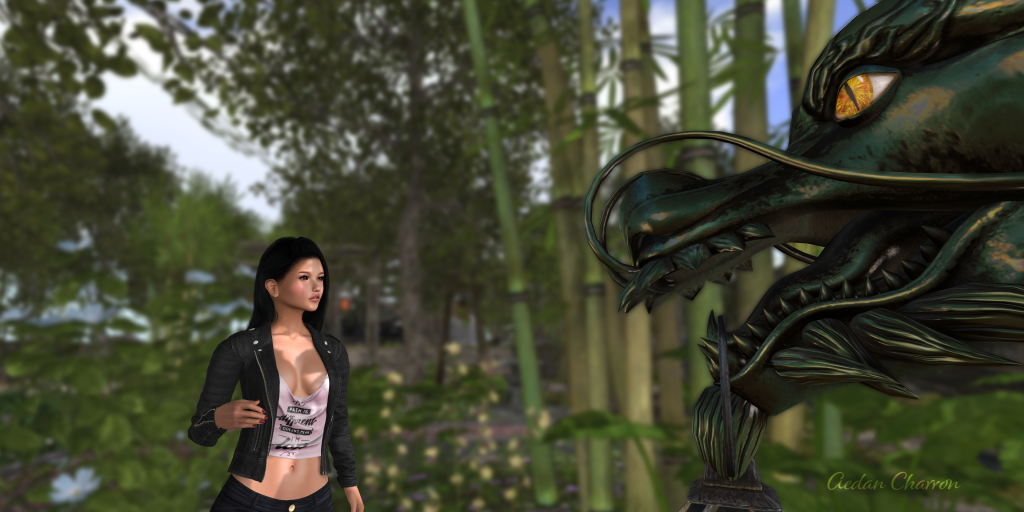
With this image, Aedan’s work associate Kyashi, or as her parents call her, Kathy, is introduced.

I took my first attempt at writing a story for this format over the summer. Like everything else, it was a learning experience…one that told me I had much to learn before continuing.  In fact, I am currently regrouping a bit.

However, being Aedan’s work associate, she will be in the story early and often so over the last week I spent quite a bit of time developing her character. I now feel I know her quite well and so it was time to put a face on her. Once she has her own wardrobe (she can’t stand sharing clothes with Noel), I’ll start working on Aedan’s supervisor, the DA but right now, this is Kyashi’s moment…and he never backs down…

As for the image, it is one of the most simple images I’ve done in quite a while. It is a composite but only because I’ve never had much luck with Field Of View in the Firestorm viewer. Windlight was changed only to get a little sun on her face. The biggest editing of this photo was in creating a more realistic eye for the dragon statue.

Facebook
Twitter
Tumblr
Email

We are using cookies on our website

Cookies are used to help improve the usefulness and attraction of this site. Please confirm, if you accept our tracking cookies. You can also decline the tracking, so you can continue to visit our website without any data sent to third party services. Thank you.