Back To Work

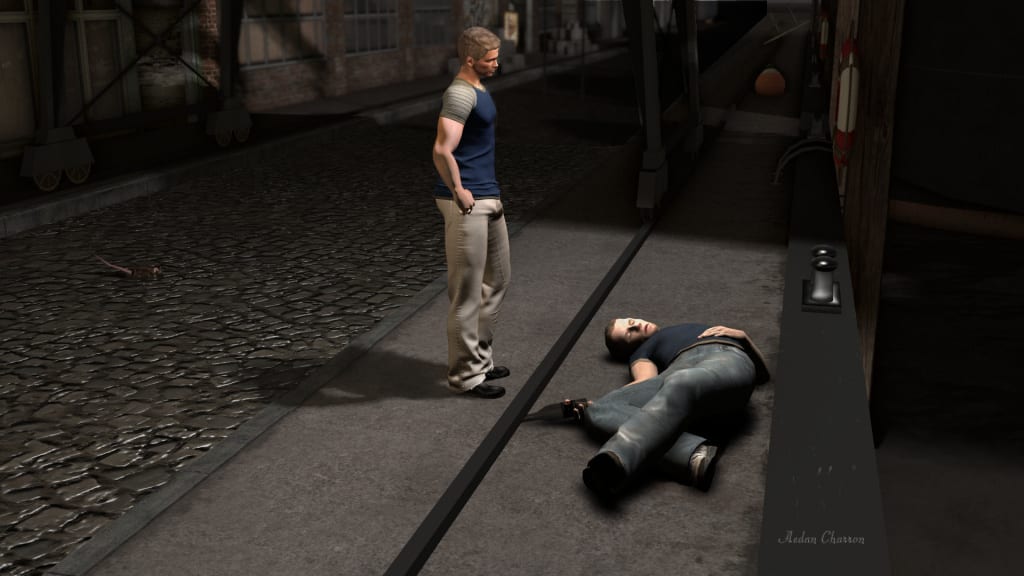
Drunk in the streets of Rottendam
Not what I came to get
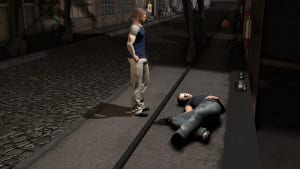
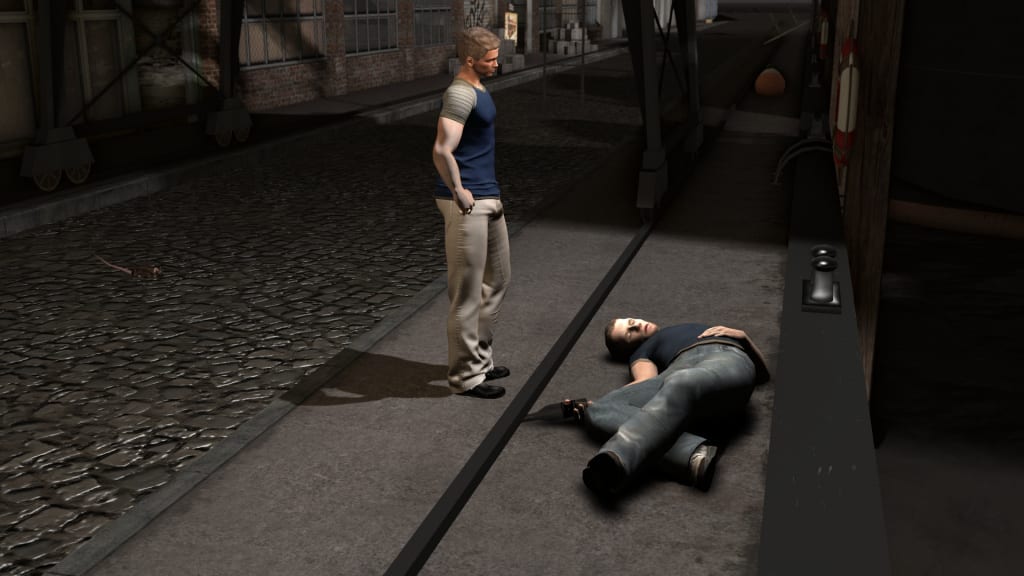
  • After struggling with the new foreground select tool to clean this image up to my liking, I finally gave up and just used the lasso tool to take the pieces I needed to make adjustments too. I’m mostly happy but will spend more time tweaking the LUMIPro next time. 

Adjustments made were to calm down the skin tone of my arm and his face, tweaked my shadow a bit to blur the edges and make it a similar tone to the drunk’s (who’s shadows are not coming entirely from the light).  I also added a bit of shadow in the street for my head and the rat.

Finally, the background in the distance was blurred just a bit in addition to adding a gradient to make it darker in the distance.

You can read a bit more about my struggle here with the two previous posts:

Gimp Foreground Select

Good Help These Days


Location: Rottendam

My Outfit: 

His Outfit:
  • He refused to answer and stunk too much to check the tags!
Gimp Foreground Select

Rottendam - Too Bright
The starting point ..

From my post yesterday, you might recall that I was on a trip to find some objects for a secret and huge project I’m working on when I stumbled across this guy passed out on the street. It seemed like an opportunity to get some practice with my LUMIPro but I ended up taking the image into Gimp because I still couldn’t get exactly what I wanted.  I’ve found myself frequently needing to extract the subjects of photos from their backgrounds and this seemed to be one of those times.

Because this is becoming a frequent practice, I figured I should make myself more proficient at what I understand is supposed to be the latest and easiest way to isolate items in Gimp. The Foreground Select tool.  Here I go down another path!

To date, my experience with this tool has been only marginally better than using either the “free” or “fuzzy” select tools to do the same thing.  When it’s all said and done, I am still finding myself going back and spending perhaps hours removing unwanted pixels with the wrong color.  Unfortunately, this attempt has been no better.

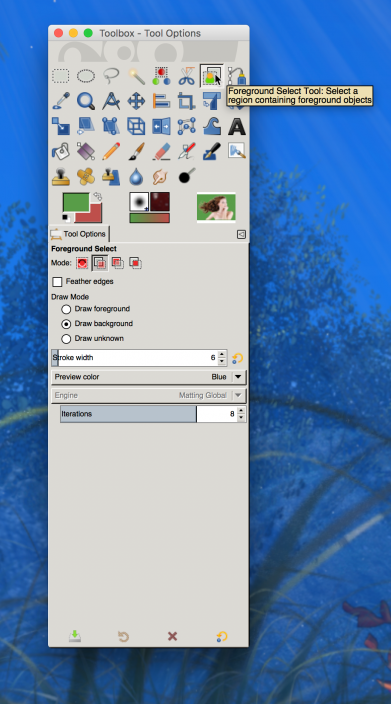
However, I did learn one thing that prompted me to create this post.  When my attempts to identify the foreground and background using the tools presented by Foreground Select left so much wanting, I figured there must be something else to try. I watched a few tutorials on youtube and all showed the same thing though one was amazingly successful and extracting blowing hair from it’s background (video below).

In that video, the presenter is using the ‘Matting Levin” engine. On my machine, it was set to use the other engine, Matting Global, and I was unable to change the selection.  Similarly, the machine I am currently on is defaulted to the Matting Global but is denying the option to change engines.

I searched and read quite a bit but found nothing explaining why I had no other option.  I suspected it might be hardware.

Gimp Foreground Select Tool

I only recently built the machine that I’m using to take photos in SL.  It has what is supposed to be an exceptional video card which I may review later. Early on, I determined to use that machine ONLY for ‘gaming’ and web browsing when it was convenient.  No other software would be installed on that machine.  However, early on, I had installed Gimp before I reached that decision so I fired it up and sure enough, on that machine, I do have the ability to select either engine.  Just for fun, I tried extracting the same image from the photo above and though the result was slightly better, it still fails in comparison to the video below.  So, my search continues.  As is the story of my life, yet another small project has taken a life of it’s own.

Good Help These Days

Rottendam Docks
No good help these days

Putting these websites together (creativeonline.us and vreamart.com) has taken a lot of my time lately.  I’m so happy to have them functional enough that I can start adding content….and can get back to my ‘big’ project.

For that project I need to build a set for some photos and so I went searching for some carpenter’s tools.  that’s how I ended up in Rottendam..and boy is it rotten.  OK, maybe I should judge what appears to be a magnificent and detailed build by the residents on the street.

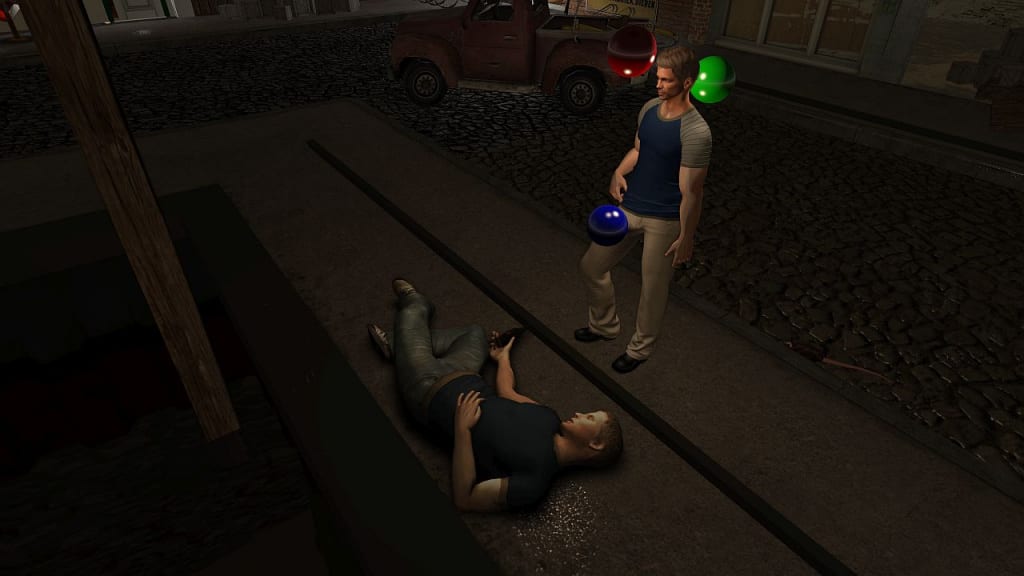
This would be the first time I had the opportunity to use the LUMIPro outside of my own lot so I jumped at the chance to take a photo. When I got home and looked to see what I had recorded, I was quite amused to see that the light orbs have become nearly invisible to me already – I didn’t actually intend to take this photo with them visible.  Still, I thought this was a good opportunity to intorduce it here since I’ll be using it quite often in the future.

Though this might have been a good photo without the balls, it’s not the angle I finally decided upon.  I’ll share that one once I’m happy with it – I’m sure I could have tweaked the LUMIPro a bit better because there is too much light in that photo so I’ll do a bit of post processing to try and get it where I want it before sharing on Flickr.

Rottendam - Too Bright
The starting point ..

Get Your Motor Running

Get Your Motor Running


I have identified a long term project that will come to light in the not too distant future though I don’t want to curse myself by letting too much out of the bag.  It was as part of this effort that I found myself at 2 Raw Tracks and Roads because one of the items I was shopping for claimed to have a store on that sim.

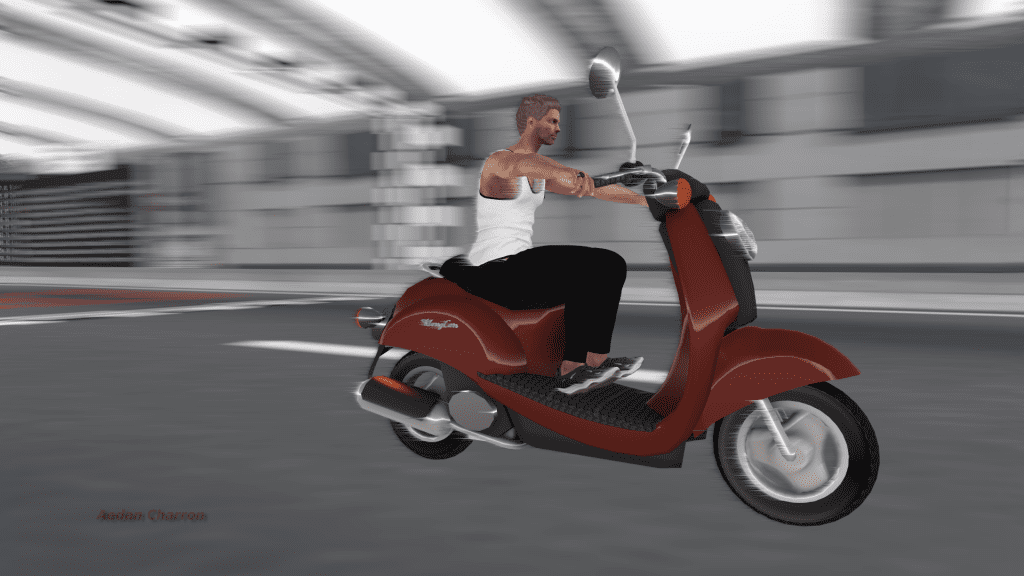
I never found the store but as I cammed around the sim and noticed that the tracks went round and round up into the clouds I noticed that at some level up there were building walls that appeared to match another item on my list for this ‘secret’ project. Those walls were way, way up there and flying up the center of this circular track wasn’t an option because there were structures in the way. I considered flying up the outside of this massive structure – even before checking to see if it extended to the edge of the sim but at about the same time, saw these ‘free’ scooters available.  Why fly when you can ride and maybe even see more that you hadn’t noticed while camming?

After a rough start (I did say I’m not much into vehicles, didn’t I? ) I finally figured out how to gain speed while moving forward. I never quite figured out how to brake so I was initially cautious because I quickly found that I wasn’t much good at getting myself out of collisions in the corners either.

It turned out be loads of fun though when I finally made it to the walls in question, they turned out to be a regular prim with a texture applied and not mesh. This left me clueless about where I could find that same texture but still it was a nice visit.

The image is a composite of two images – actually the same image but duplicated so that I could cut myself and scooter out of one copy add some blur to the second copy and then paste myself into that and finally add a bit of ‘wind streaking’.  All done in Gimp.

Star Gazing

From the Stars We Have Come

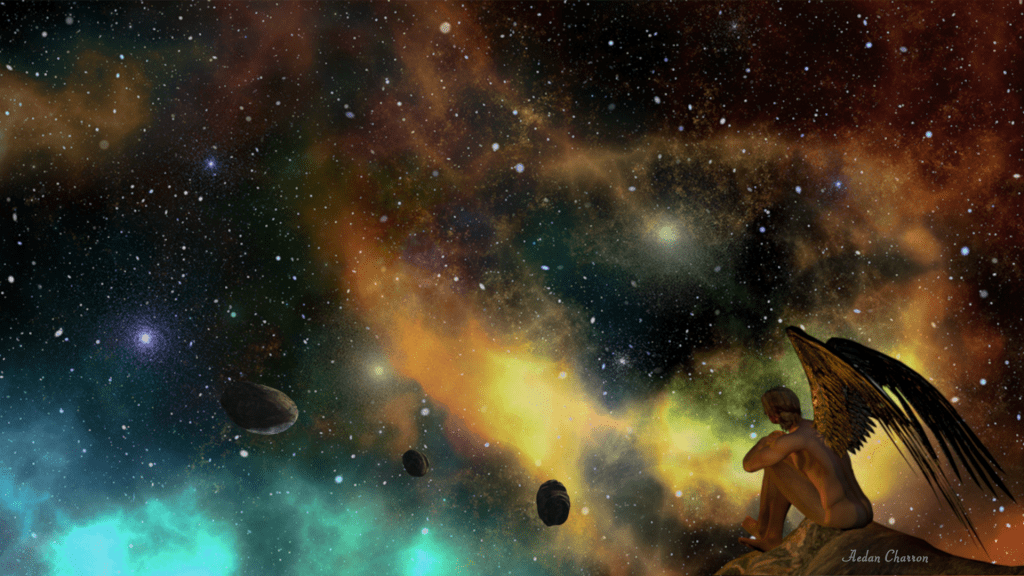
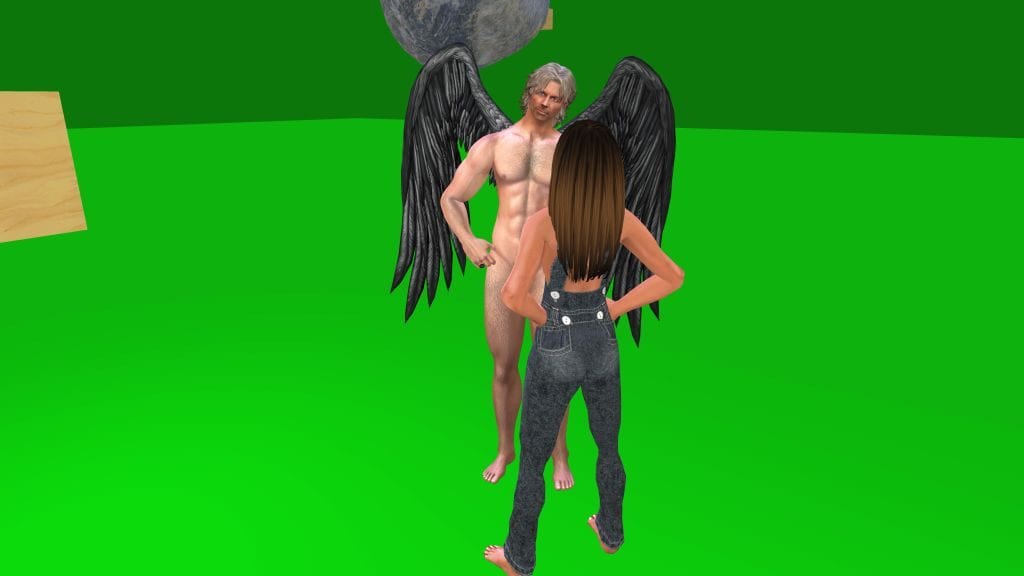
This was inspired by another image that I’ve been carrying in my head for a long time. It wasn’t nearly as easy to create it as I expected. The photo of myself (with wings!) was taken against a green board as was that of the meteors after many attempts that failed initially.

The problem I was experiencing was that the wings have a mind of their own. I had hoped to get several shots from the same angle but with different lighting so that I could pick and choose when I bought it home. Catching the moving wings in the same exact spot was not a doable thing. I found that I could stop them from moving by ‘editing’ them but at some point I would have to let go to move the lighting prim.

Photo Day 2
Had to call in Christi to try and help but in the end I bought the LUMIPro to help with the lighting.

This was inspired by another image that I’ve been carrying in my head for a long time. It wasn’t nearly as easy to create it as I expected. The photo of myself (with wings!) was taken against a green board as was that of the meteors after many attempts that failed initially.

The problem I was experiencing was that the wings have a mind of their own. I had hoped to get several shots from the same angle but with different lighting so that I could pick and choose when I bought it home. Catching the moving wings in the same exact spot was not a doable thing. I found that I could stop them from moving by ‘editing’ them but at some point I would have to let go to move the lighting prim.

I tried several ways of getting the wings to stop moving and even thought I had broke them when I finally did because they were stuck open which did me no good whatsoever. (resetting the hud was necessary to fix them again).

I had been told of a photographic tool called LUMIPro that might help me out with other lighting issues but when I saw the price, I discharged the idea without actually learning what all it was capable of.  At a height of frustration, I looked to see what LUMIPro was capable of doing and was so impressed that I bought one. I am happy to say I was able to get the light on my avatar that I wanted with LUMIPro in addition to lighting the three meteorites.


Fantasy Faire 2019

Fantasy Faire 2019
Fantasy Faire 2019

I actually don’t remember if I had visited a Fantasy Fair prior to this year’s. I expect I had since the imagination that goes into anything ‘fantasy’ sparks my interest. However, strolling along looking for the perfect picture will, I have no doubt, find a way to leave a more lasting impression if only because one tends to take a few less things for granted.  I think that is certainly the case for this image.

My visit to SL’s Fantasy Fair of 2019 was early on a Sunday morning with relatively few people around. I noticed the signs about lag but fortunately for me, I didn’t feel any.

I began by visiting stores setup on the side of the path as I wandered along my way. There were many interesting items but I reminded myself that I was there for pictures now and had some time to return should I see something I just had to have.

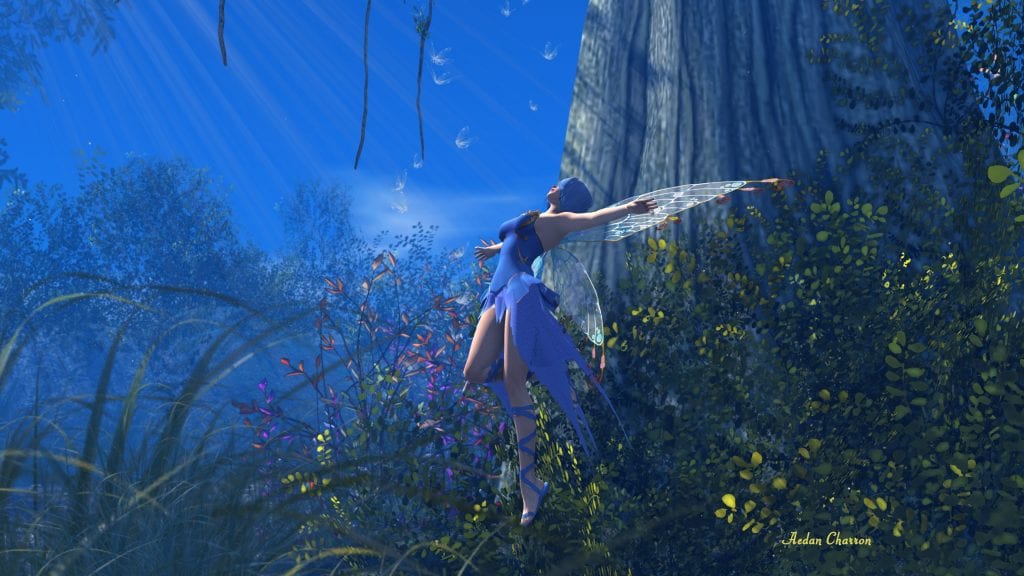
At several points along the way were these ‘little’ animesh fairies.  I say little because they actually appear to be less than 9 inches tall but the detail is such that they look as ‘real’ as some avatars one sees. I made several attempts to get one with the background and light I wanted but failed each time until this one.

After a few moments of adjust various settings within windlight and the phototools of the Firestorm browser this image grabbed me. After ‘snapping’ the camera and downloading, I did pull it into Gimp to see what other adjustments I might want to make but in the end, decided that the image I had taken was the best so a layer was added for the signature but no other processing was performed beyond reducing the size and exporting in a different format than the .bmp that I currently take pics in.

The Fantasy Faire runs until May 5th so if you haven’t made it, get on over there!

Fantasy Faire 2019

We are using cookies on our website

Cookies are used to help improve the usefulness and attraction of this site. Please confirm, if you accept our tracking cookies. You can also decline the tracking, so you can continue to visit our website without any data sent to third party services. Thank you.